Iiadonnasanova Owens-Williamson creates:
Like us on:
  • Home
  • Collages
  • Figurative Sculptures/Dolls
  • Paintings/Drawings
  • Store
  • Murals
  • Student Work
  • Contact
  • Prices

Day 4 of 61 Days of Summer

5/31/2014

0 Comments

 
Picture
Step 6: Find a sheet of heavy weight paper the size you'd like your journal to be.
Picture
Step 7: Peel the protective wax paper backing off of the faux leather sheet you've already created. You will notice the shiny adhesive under this wax paper backing. Turn this shiny adhesive over on top of your heavy weight paper. You've created a sandwich, of sorts, with the faux painted paper on top, the adhesive in the middle and your heavy weight paper on the bottom. Cover the faux texture paper with the wax paper you just removed and iron onto the heavy cardstock. You are to iron with the wax paper on top, the faux paper (face up) in the middle and the heavy cardstock on the bottom. A little steam usually helps it to adhere a little faster.
Picture
Step 8: Now, take your faux paper sandwich and slice off the excess paper to match the exact size of your heavyweight cardstock. This is best done by viewing your papers from the side where the heavy cardstock has been placed. If you cut from this side, it will prevent you from cutting off more than necessary. After trimming your excess paper, cut the faux paper sandwich in half.
Picture
Step 9: Choose the papers you'd like to make up the inside of your journal and trim them to fit the covers.
Picture
Step 10: Place those sheets inside of your covers.
0 Comments

Day 3 of 61 Days of Summer

5/30/2014

0 Comments

 
Picture
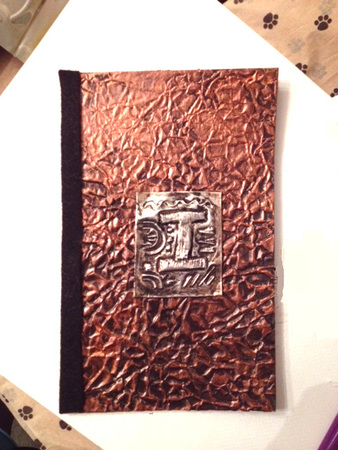
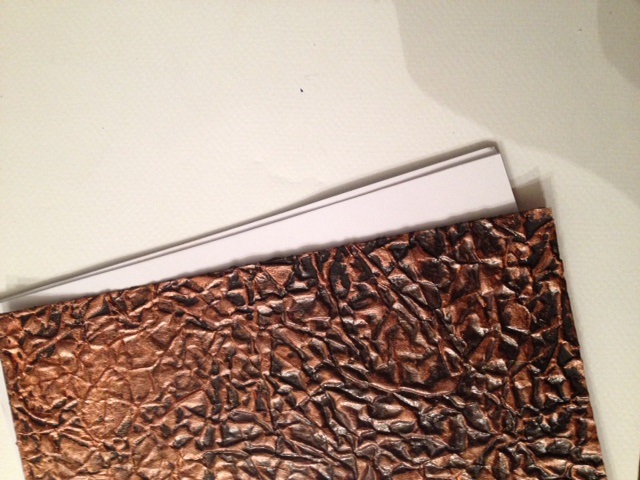
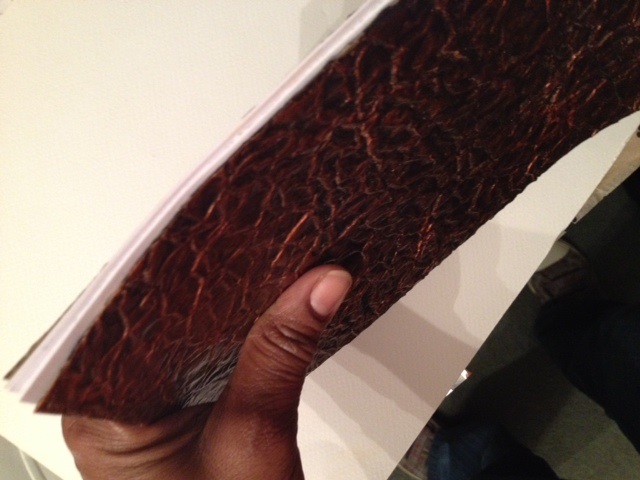
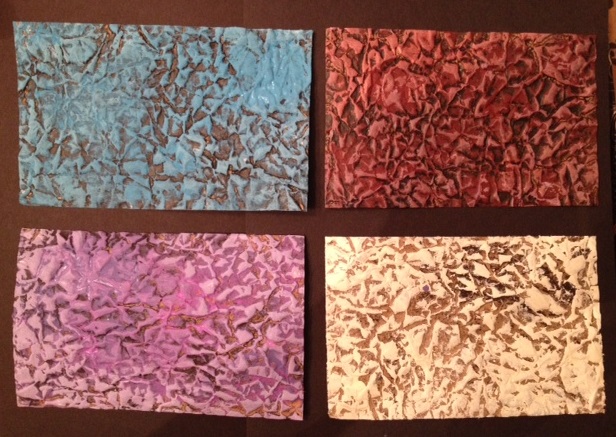
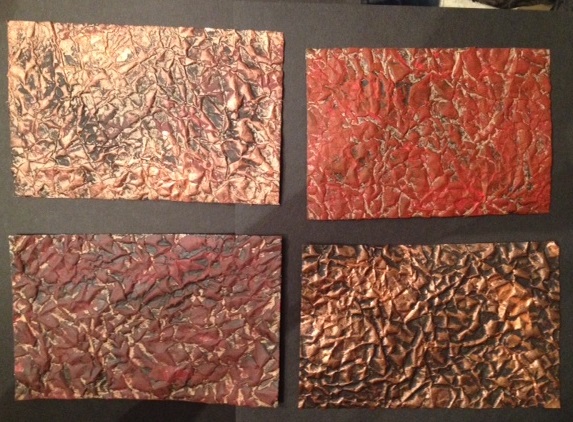
Faux leather journal
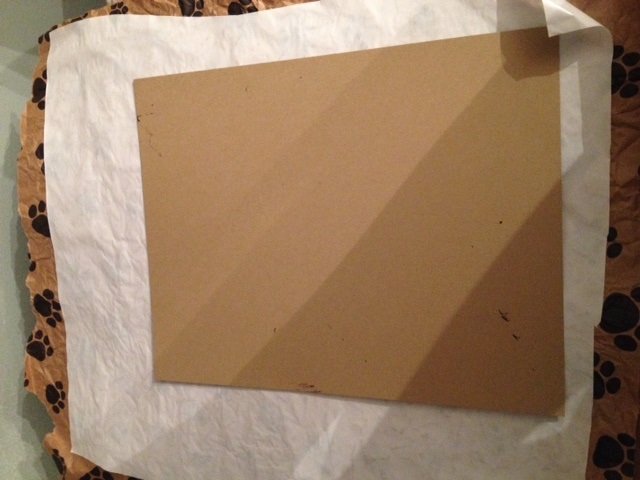
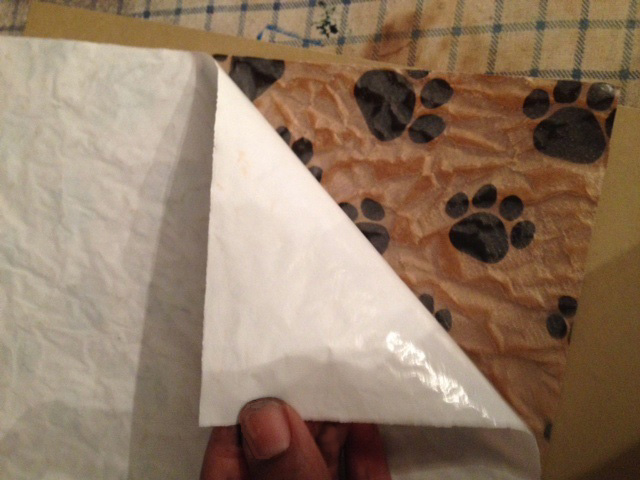
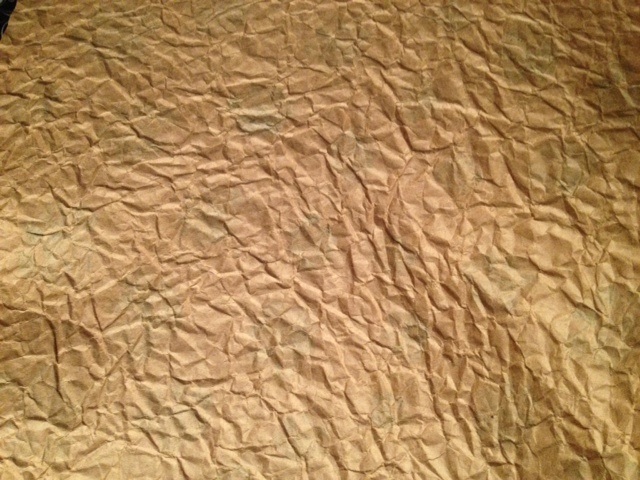
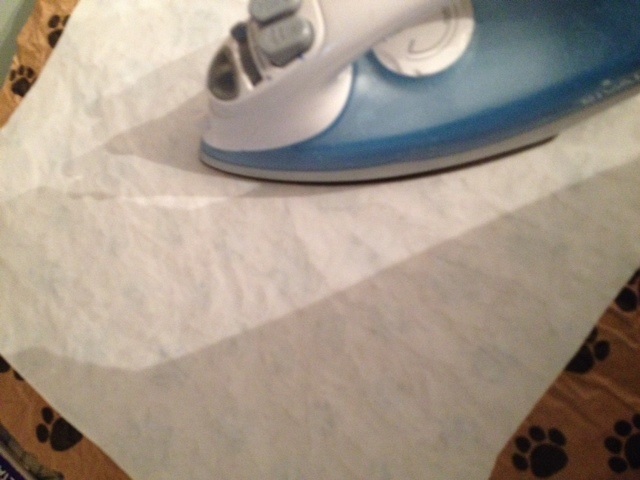
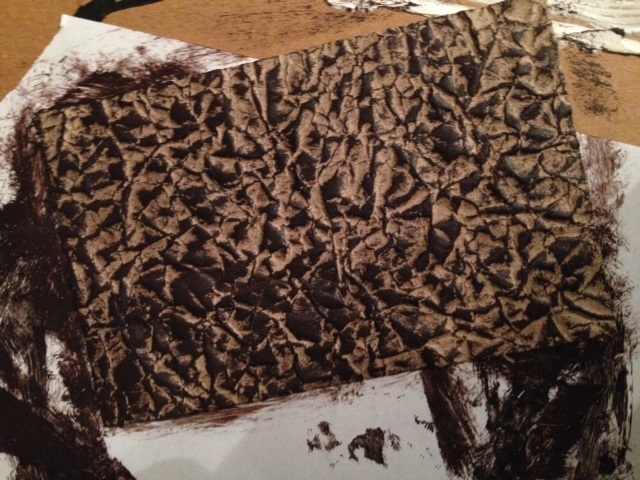
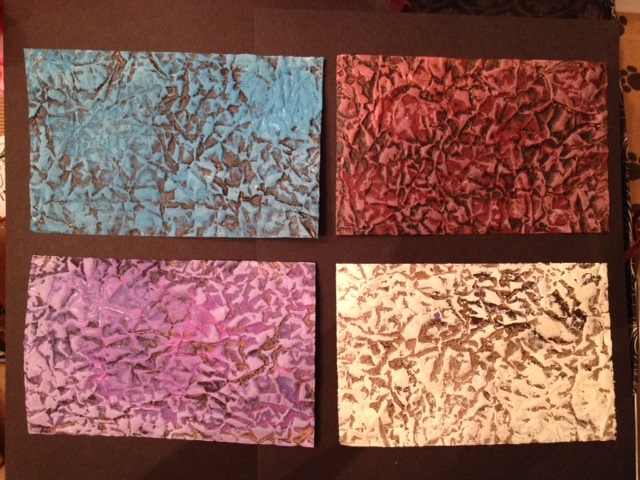
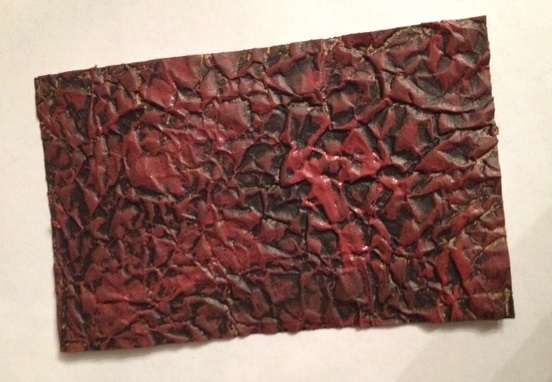
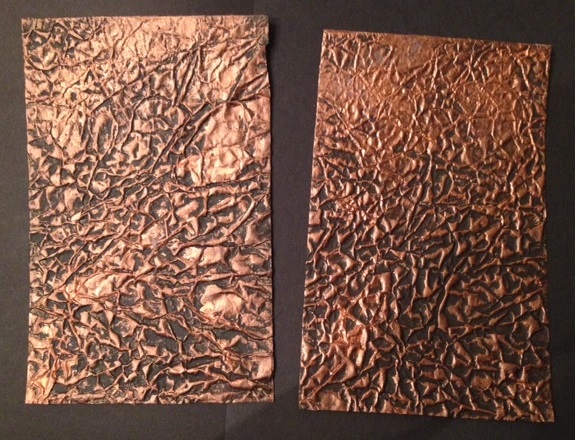
Materials needed for steps 1-4: Kraft paper, Heat n Bond, iron and acrylic paint: a dark brown or black and another color of choice.
Picture
Step 1: Take a piece of Kraft paper and crumble it then open it, repetitively, until the firmness of the sizing has softened. This will involve crushing then opening of the paper....maybe 7 or 8 times. Try not to tear the paper. The end result is a sheet of wrinkled paper that's almost as flexible as tissue paper.
Picture
Cut a sheet of 'Heat N Bond' no sew/ fusing paper and iron onto one side of your wrinkled Kraft paper. My Kraft paper happens to have print on one side which will help you decipher the front and back sides of the paper as I'm directing you. I've fused the Heat N Bond to the backside of my Kraft paper. For you, it will not matter which side you iron the adhesive on. The purpose of the Heat N Bond is to freeze the wrinkles in place so that you may paint on your paper without changing those wrinkles.
Picture
Using a dark colored acrylic paint, cover the whole piece of paper. You may rub it on or brush it on but do not add water to your paint beforehand. This technique is considered to be 'dry-brushing'. Dry -brushing is when you do not wet your painting tool before or during the painting process. When applying paint, you may allow some of the paper's natural color to show or you may completely fill in the whole sheet so that none of the original color remains.
Picture
Once your dark acrylic color is completely dry, you may add your primary color. In this case, your primary color is the focal color of your journal. The color that will stand out the most when viewing your journal. Apply your primary color using a brush, soft towel or paper towel. Do not load your applicator:(brush/soft towel/paper towel) with paint. Instead, load only a small amount of paint and gently rub that color atop the dark color you've already applied. The ridges in the wrinkles of the page will grab that paint first. Do not rub that colored paint into the cracks and crevices of your wrinkled page because you want those dark area's to remain. If the acrylic paint isn't opaque enough to really accent the ridges in your sheet, reapply but make sure that color doesn't seep into the cracks. If you make a mistake, once the paint is dry, try it again. It should look like extremely colorful leather that has many deep, dark wrinkles in it.
Steps 5-8 tomorrow.
0 Comments

Day 2 of 61 Days of Summer!

5/29/2014

1 Comment

 
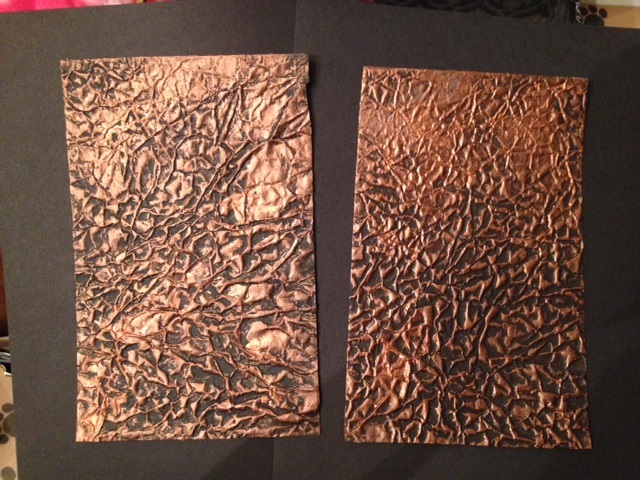
Another busy day with my family but I was able to sneak in making some faux leather.  Tomorrow, I will demonstrate how to make a faux leather journal...so check back. 
You can make one for yourself!
Picture
Picture
Picture
Picture
1 Comment

Day 1

5/28/2014

0 Comments

 
Today was an extremely busy day.  I spent it with my son handling his school business and tying up loose ends. He just graduated from high school on Friday. Tomorrow I should be able to allot some time for some personal creativity.
0 Comments

61 Days of Summer begins on Wednesday, May 28th, 2014!!!!!

5/27/2014

0 Comments

 
0 Comments

Handmade corsage and boutonniere for my son's prom night!

5/3/2014

0 Comments

 
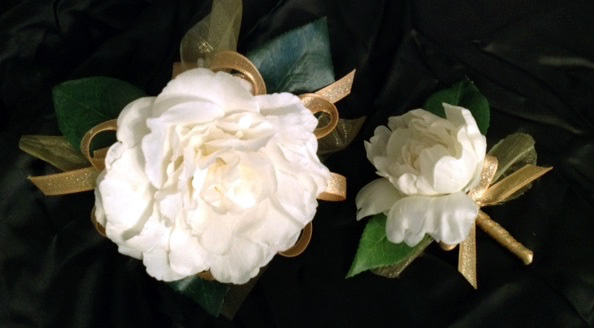
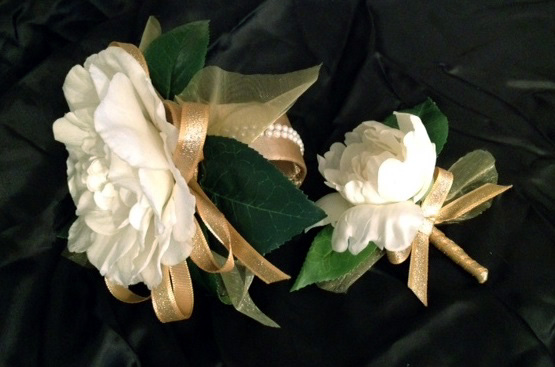
I hope his date likes it.
Picture
Picture
0 Comments

    Webs and Blogs

    Picture

    Iia

    I do what I love and love what I do.

    Paulding Fine Arts Association
    Community Animal Clinic of South Paulding
    Darcy's Botanicals
    Charly Palmer

    Archives

    October 2019
    August 2017
    July 2017
    June 2017
    April 2017
    March 2017
    September 2016
    June 2016
    May 2016
    April 2016
    March 2016
    December 2015
    September 2015
    August 2015
    July 2015
    June 2015
    April 2015
    March 2015
    February 2015
    January 2015
    December 2014
    November 2014
    October 2014
    September 2014
    August 2014
    July 2014
    June 2014
    May 2014
    April 2014
    March 2014
    February 2014
    January 2014
    December 2013
    November 2013
    October 2013
    September 2013
    August 2013
    July 2013
    June 2013
    May 2013
    April 2013
    March 2013
    February 2013
    December 2012
    November 2012
    October 2012
    September 2012
    August 2012
    July 2012
    June 2012

    WAK

    RSS Feed